For most of my life, drying my hair was just something that happened. I'd step out of the shower, grab a towel, rough it dry as fast as possible, and deal with whatever came out the other end. Sometimes it looked okay. A lot of the time it didn't.
It wasn't until I started actually paying attention to how I was drying my hair — not just that I was drying it — that things started to change. And honestly? The difference was bigger than anything I'd ever got from a new shampoo or styling product.
It turns out there's a right and a wrong way to dry your hair. And most of us, through no fault of our own, have been doing it the hard way.
Here's the four-step routine that made the difference — and the reasons behind each step, so you actually understand why it works.
Why Your Drying Routine Matters More Than You Think
Before we get into the steps, it's worth understanding why the drying process is so important in the first place.
Wet hair is fragile hair. When hair is saturated with water, the shaft swells, the outer protective layer (the cuticle) lifts, and each strand becomes significantly weaker and more elastic than it is when dry. In this state, hair is highly vulnerable to friction, tension, and heat — all of which are present in a typical post-shower routine.
The decisions you make in those first ten minutes after washing don't just affect how your hair looks today. They affect the long-term health, strength, and shine of your hair over time. Small habits, repeated every wash day, accumulate into real results — in both directions.
The good news: getting it right isn't complicated. It just requires a little intention.
Step 1: Squeeze First, Always
The very first thing to do when you step out of the shower is remove excess water with your hands — before a towel even touches your hair.
Working in sections, gently squeeze and press your hair from root to tip. You're not wringing or twisting — just compressing to push water out. This removes a surprising amount of moisture and means your towel has less work to do, which means less time and less friction overall.
This step takes about thirty seconds and makes a real difference to everything that follows.
Why it matters: The less saturated your hair is when the towel goes on, the less your hair towel needs to work, the less friction is involved, and the faster the whole process goes. It also reduces the amount of time your vulnerable, wet hair is being handled — which is always a good thing.
Step 2: Use the Right Towel — and Use It Right
This is the step most people skip entirely — not because they're lazy, but because nobody ever told them it mattered.
A standard bath towel is one of the worst things you can put on wet hair. The fibres are rough and thick — designed to scrub skin, not cradle delicate hair strands. Rubbing wet hair with a bath towel creates enormous friction against the raised cuticle, leading to frizz, breakage, and dullness that builds up wash after wash.
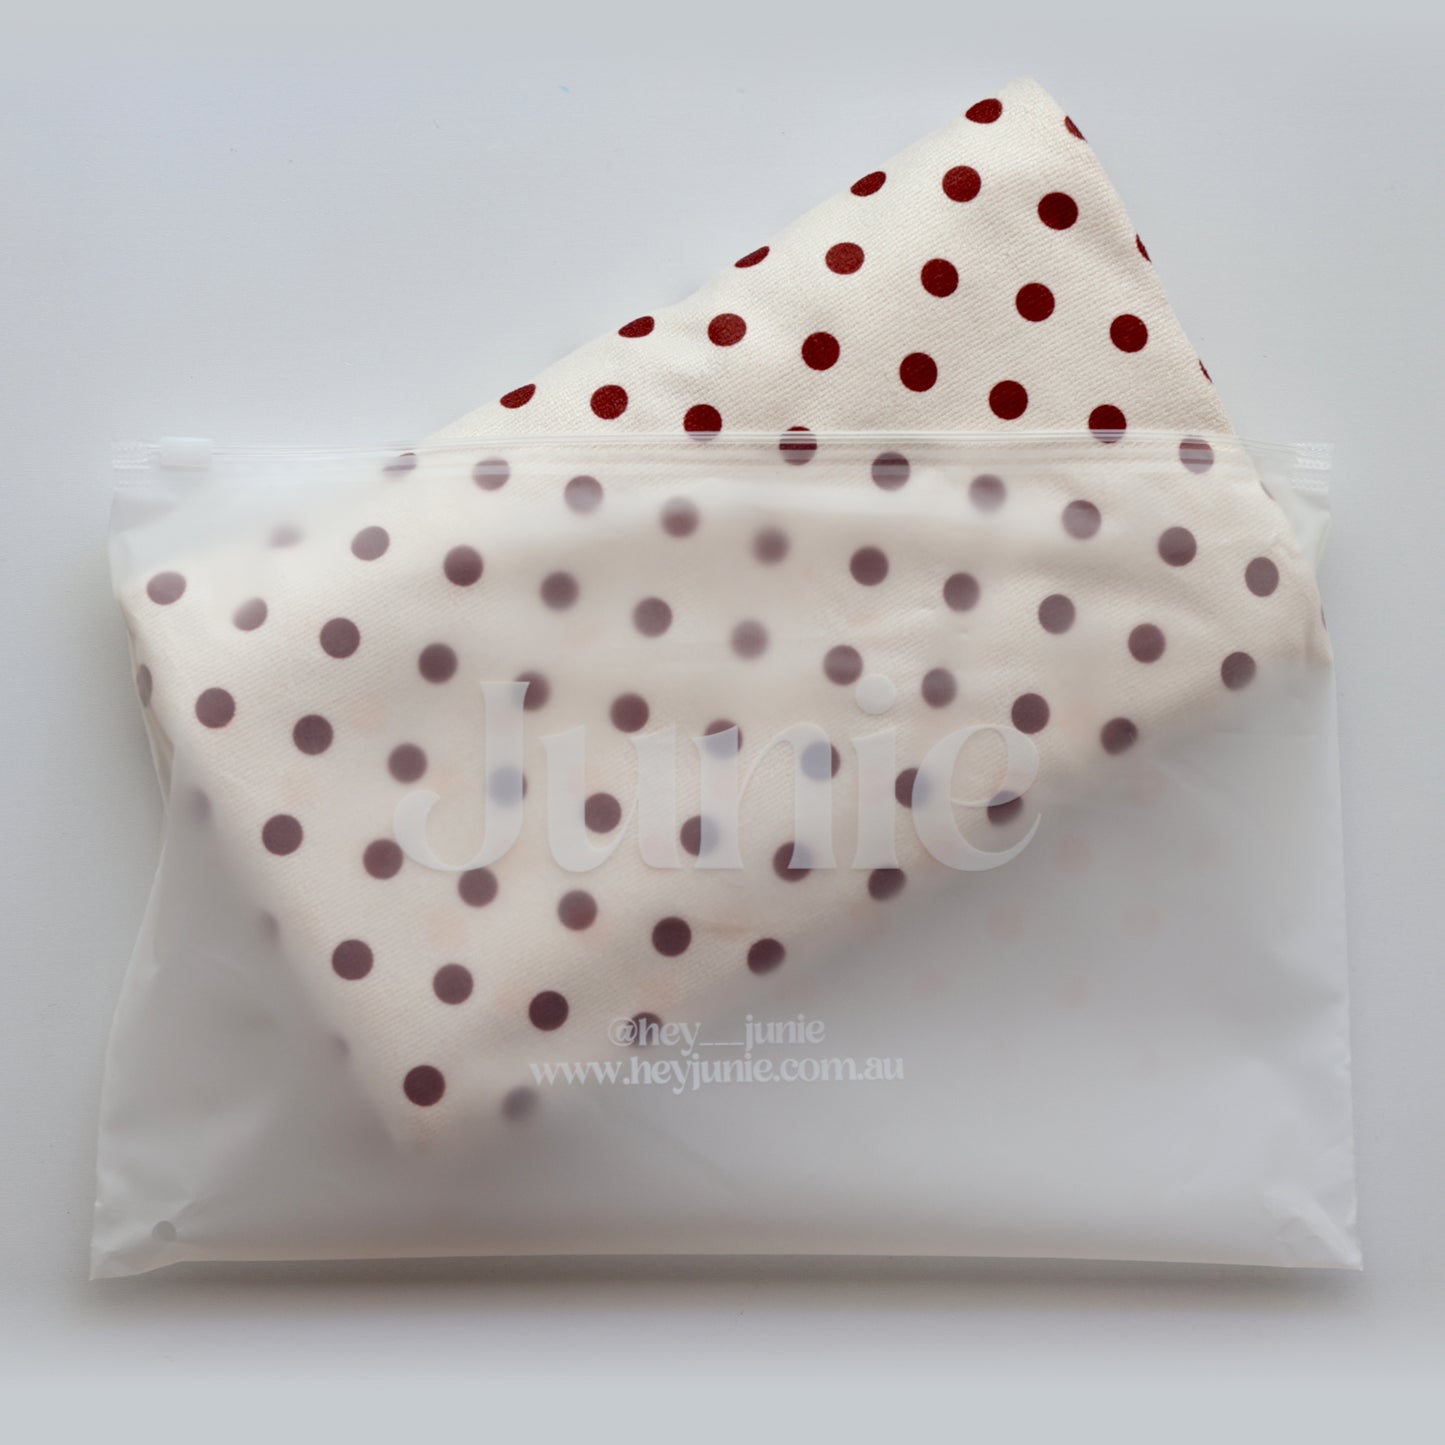
The right tool is a hair-specific towel made from fibres fine and soft enough to treat wet hair gently. The Junie Quick-Dry Hair Towel is made from a specially developed dual-fibre blend — 82% polyester and 18% polyamide — where the polyamide fibres create a noticeably softer, smoother fabric than standard microfibre. It absorbs moisture quickly and efficiently while creating minimal friction against the hair cuticle.
But the tool is only half of it — technique matters too.
How to use it correctly:
- Don't rub. Ever. Squeeze and press only.
- Wrap hair loosely but securely — no tight twisting that puts tension on roots and strands
- Use the elastic loop to secure the towel in place and then leave it alone
- Leave it on for 5–10 minutes and let the fabric do its job passively
That last point is key. The best thing you can do while your hair towel is on is nothing. Let the fabric absorb moisture without any interference from you.
Step 3: Apply Products to Damp Hair — Not Dry
When the towel comes off after 5–10 minutes, your hair should be damp but not dripping. This is the ideal moment to apply any leave-in conditioner, heat protectant, curl cream, or smoothing product.
Most people apply these products to dry or nearly-dry hair — but that's actually the least effective time. Damp hair has a slightly open cuticle, which means it absorbs products far more readily. Applying to damp hair means the product gets into the hair shaft where it can actually do something, rather than just sitting on the surface.
This one timing tweak can make your existing products work noticeably better — without spending a cent on anything new.
What to apply and when:
- Leave-in conditioner: Apply to damp hair, comb through with a wide-tooth comb
- Heat protectant: Apply to damp hair before any heat styling
- Curl cream or mousse: Apply to damp hair and scrunch gently upward
- Smoothing serum: Apply to damp hair, concentrating on mid-lengths and ends
Step 4: Dry With Low Heat — or Air Dry Strategically
Here's where things get a little counterintuitive.
Many people assume air drying is always the healthiest option — no heat means no heat damage, right? But air drying has its own risks that don't get talked about enough. When hair is left wet for a prolonged period, the cortex (the inner structure of the hair shaft) can swell and weaken over time, a process called hygral fatigue. Very long air-drying times, particularly in humid climates, can also mean the cuticle stays raised longer — increasing frizz.
The healthiest approach for most people is actually a combination: let your hair towel do the first stage of drying passively (5–10 minutes in the Junie towel significantly reduces water content), then finish with a blow dryer on a low to medium heat setting, keeping it moving constantly.
Starting from damp rather than soaking wet means far less time under heat — so you get the speed and frizz-smoothing benefits of blow drying with significantly less heat exposure.
Blow drying tips:
- Always use a heat protectant applied to damp hair first (see Step 3)
- Keep the dryer moving — don't hold it in one spot
- Use a nozzle attachment to direct airflow down the hair shaft (this smooths the cuticle)
- Finish with a 10-second blast of cool air to close the cuticle and lock in shine
If you do prefer to air dry, try to minimise touching and manipulating hair while it dries — let it set in place. And apply a leave-in or curl cream first to help the cuticle lie flat as it dries.
The Full Routine at a Glance
- Squeeze excess water out with your hands before the towel goes on
- Wrap in a gentle hair towel — squeeze and press, never rub — and leave for 5–10 minutes
- Apply leave-in conditioner and styling products to damp hair
- Dry with low heat (or air dry with minimal handling)
That's it. Four steps, about fifteen minutes total, and your hair will consistently look and feel better for it.
The Right Tools Make It Effortless
A good routine is so much easier to stick to when you have the right tools. The Junie Quick-Dry Hair Towel was designed specifically to make Steps 1 and 2 of this routine as easy and effective as possible — absorbing moisture quickly, wrapping securely without tension, and treating wet hair with the gentleness it deserves.
Because wash day should feel like self-care, not a chore.
Free shipping on Australian orders $59+. Comes with a reusable wet bag. Rated 5 stars by our customers.
Enjoyed this? You might also like: